Installation Guide
How to Install the Screedex® Mortar Bed Screed System
Follow this step-by-step guide to build mortar beds that are accurate, compliant, and faster to install.
Follow These Installation Steps
FAQs
Does Screedex® help installers meet U.S. building codes?
Yes. It supports:
- American National Standards ANSI A108.1A/B/C for thick-bed tile installations
- Tile Council North America (TCNA) slope-to-drain guidelines
How does Screedex® prevent water ponding?
By ensuring consistent, slope-accurate prep, Screedex® eliminates the cause of ponding from improper drainage.
Ideal for:
- Shower pans & bathrooms
- Rooftop terraces
- Balconies & pool decks
- Commercial wet areas
What tools do I need?
Just the basics:
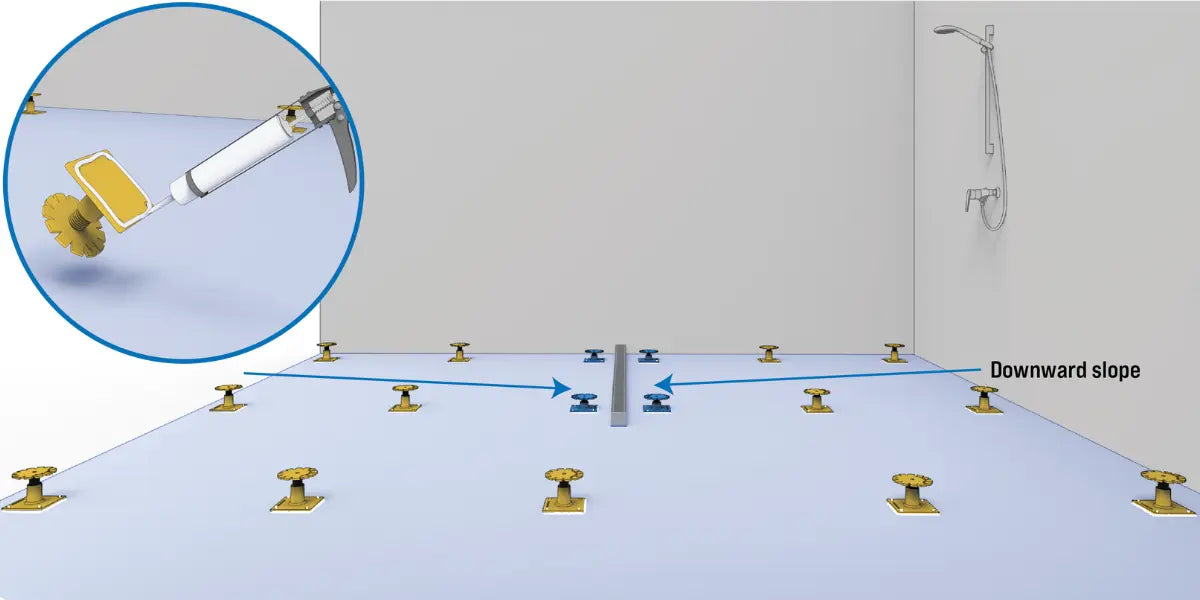
- Adhesive (see below)
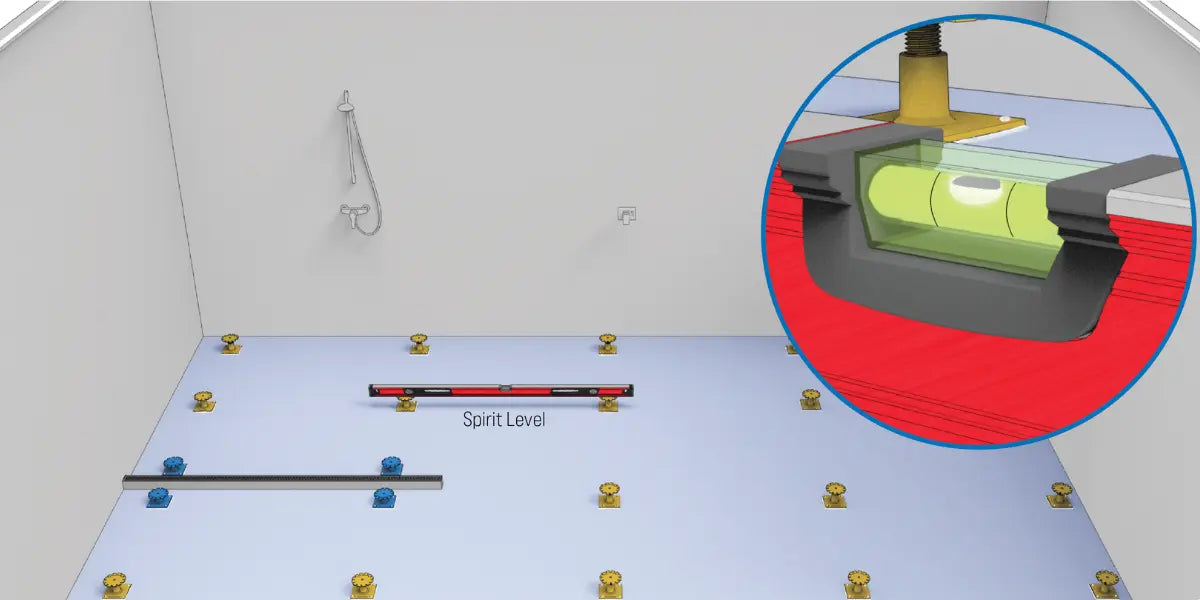
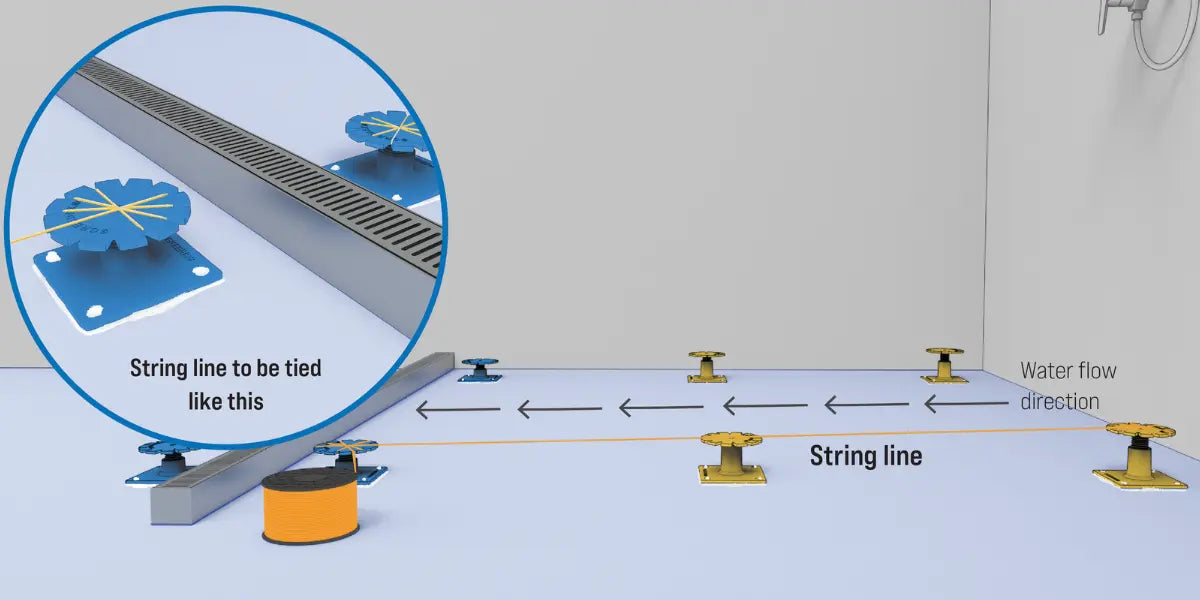
- Spirit level, string line, or laser level
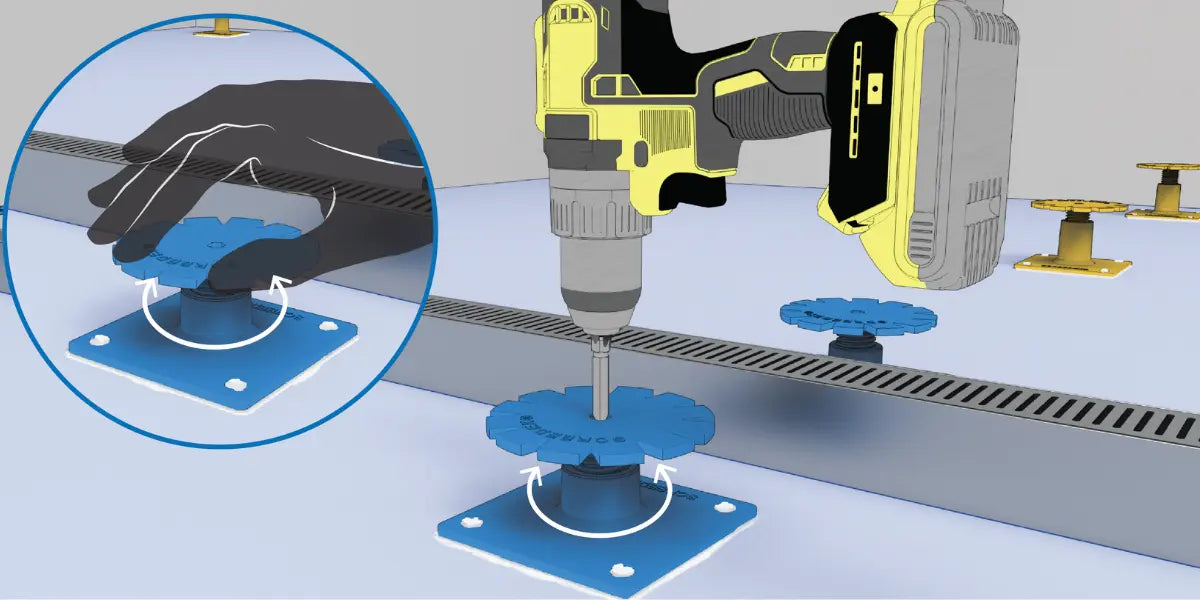
- Optional: Drill with hex bit for faster height adjustments
What adhesive should I use?
Use one of the following for a secure bond:
- Moisture-curing polyurethane sealant
- Cement-based tile adhesive
- Moisture-resistant double-sided tape
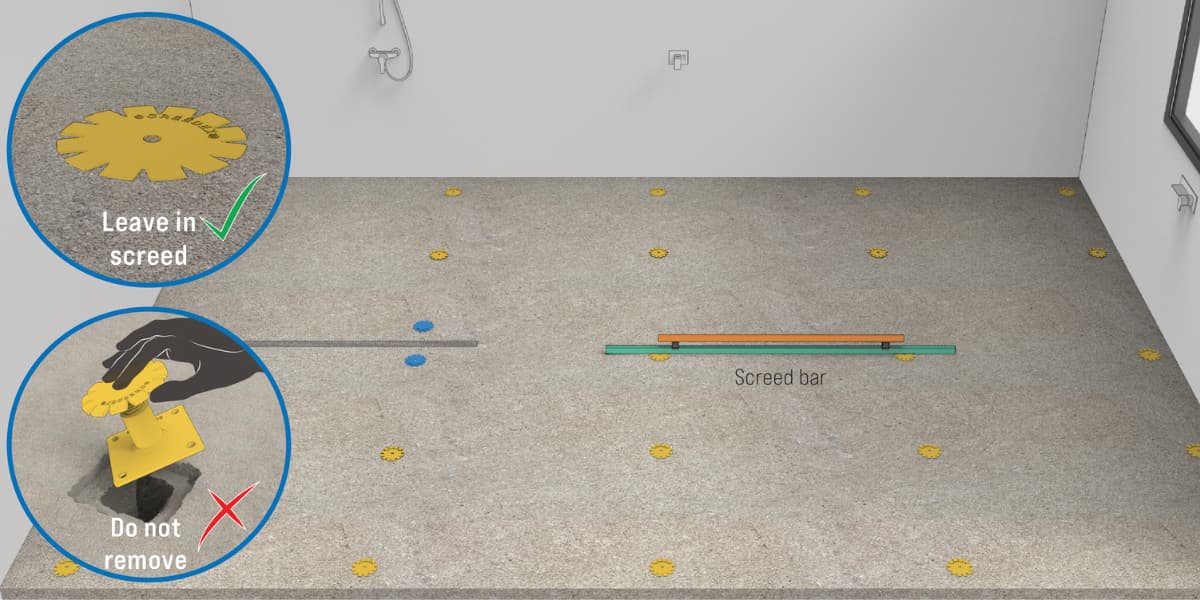
Do I remove Screedex® after screeding?
No. Screedex® is a permanent part of the floor screed. Removing it compromises the slope and structural reliability.

